DIY Hangboard

DIY Hangboard (The Cheapest way)
Materials:
Miter saw
Jigsaw
Drill
Driver
Router
Round over router bit
1” Hole saw bit
80 grit sand paper
160 grit sand paper
Spray adhesive
2x6 wood
½” ply
Paint and stain (optional)
We started by measuring the length of our sliding door and determining where we wanted to mount the hangboard. We then determined the ultimate length we wanted the hangboard by where it was going to be mounted.

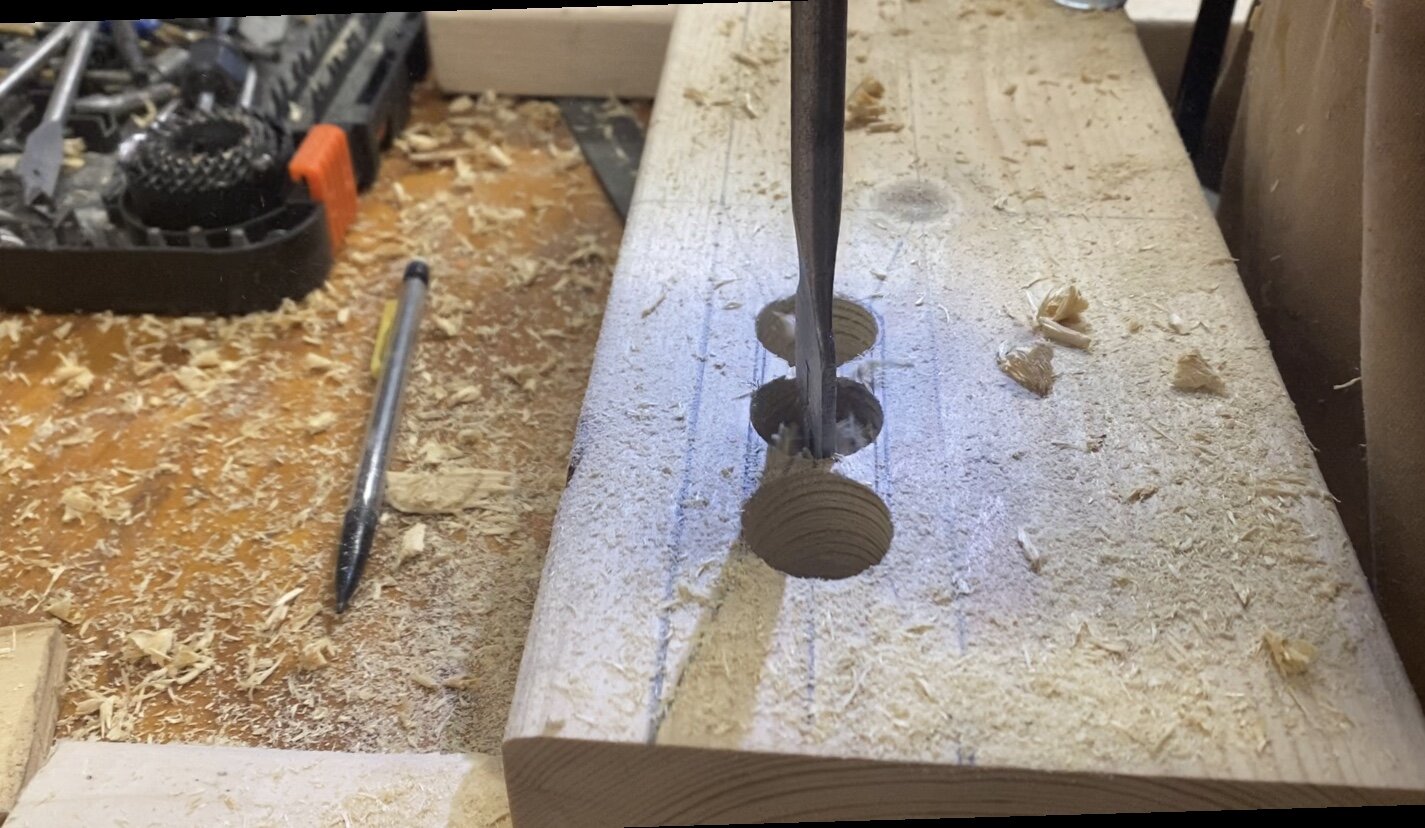
We cut the 2x6 board to length and mapped out exactly where we wanted the finger holes, making sure they were symmetrical on each side. We knew we wanted different widths for each set of holds, some for four fingers, some for one or two, and even an area for slopes.

Once the holds were marked out, using a hole saw we drilled out where we marked, drilling all the way through the wood. For the larger holds we had to drill multiple holes and then finish the cutting with a jig saw.
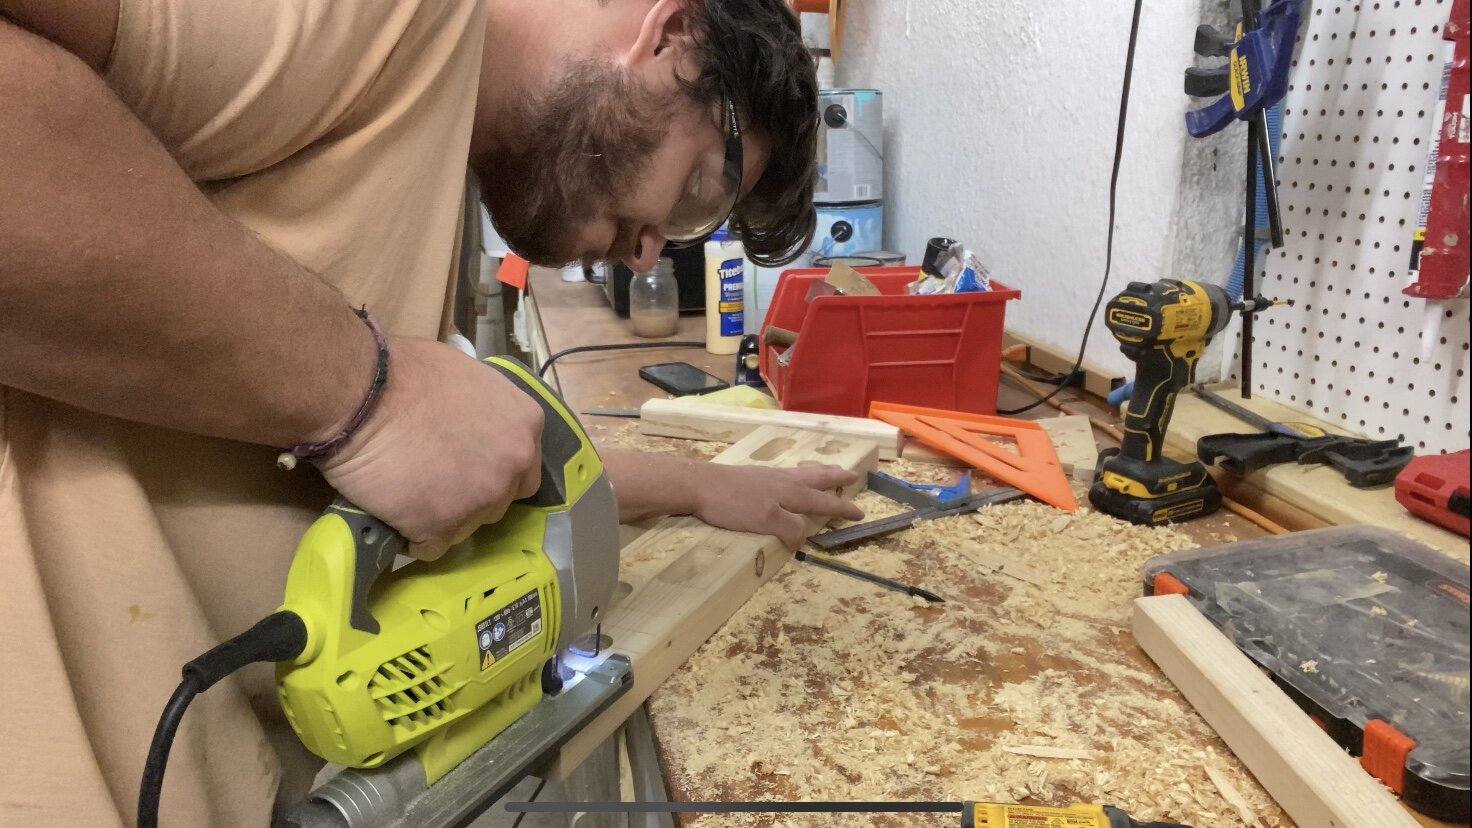
Once all the holes were cut and cleaned out using the jigsaw, it was now time to round over the edges. For this we used a router and a round over bit.

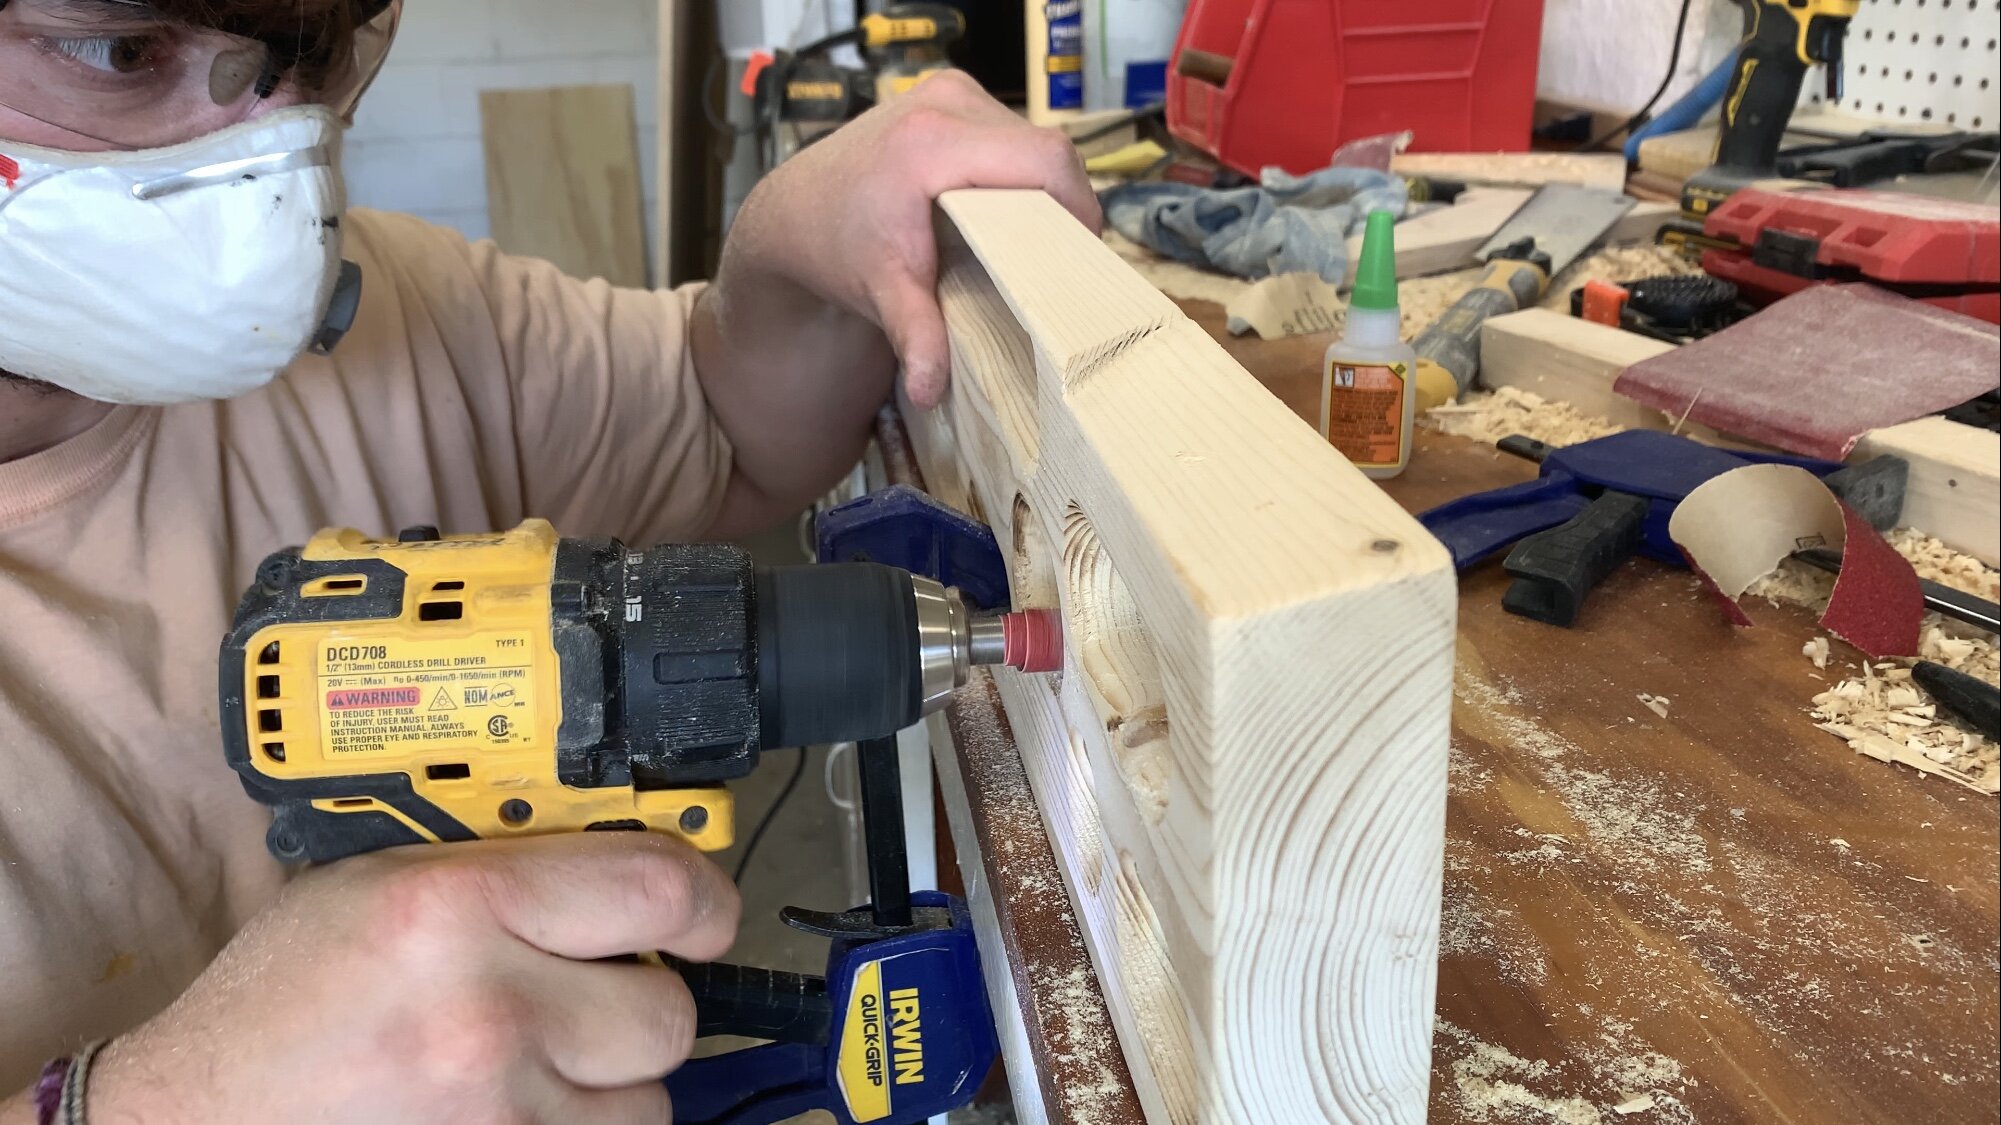
Now that the edges were smooth, we needed to clean up the inside edges. To do this we sprayed adhesive on the back of 80 grit sandpaper and rolled it onto a ½” drill bit. We then stuck the drill bit into the drill and used that as a makeshift oscillating spindle sander to sand the inside of the holes. We finished using 160grit sand paper for a smoother finish.

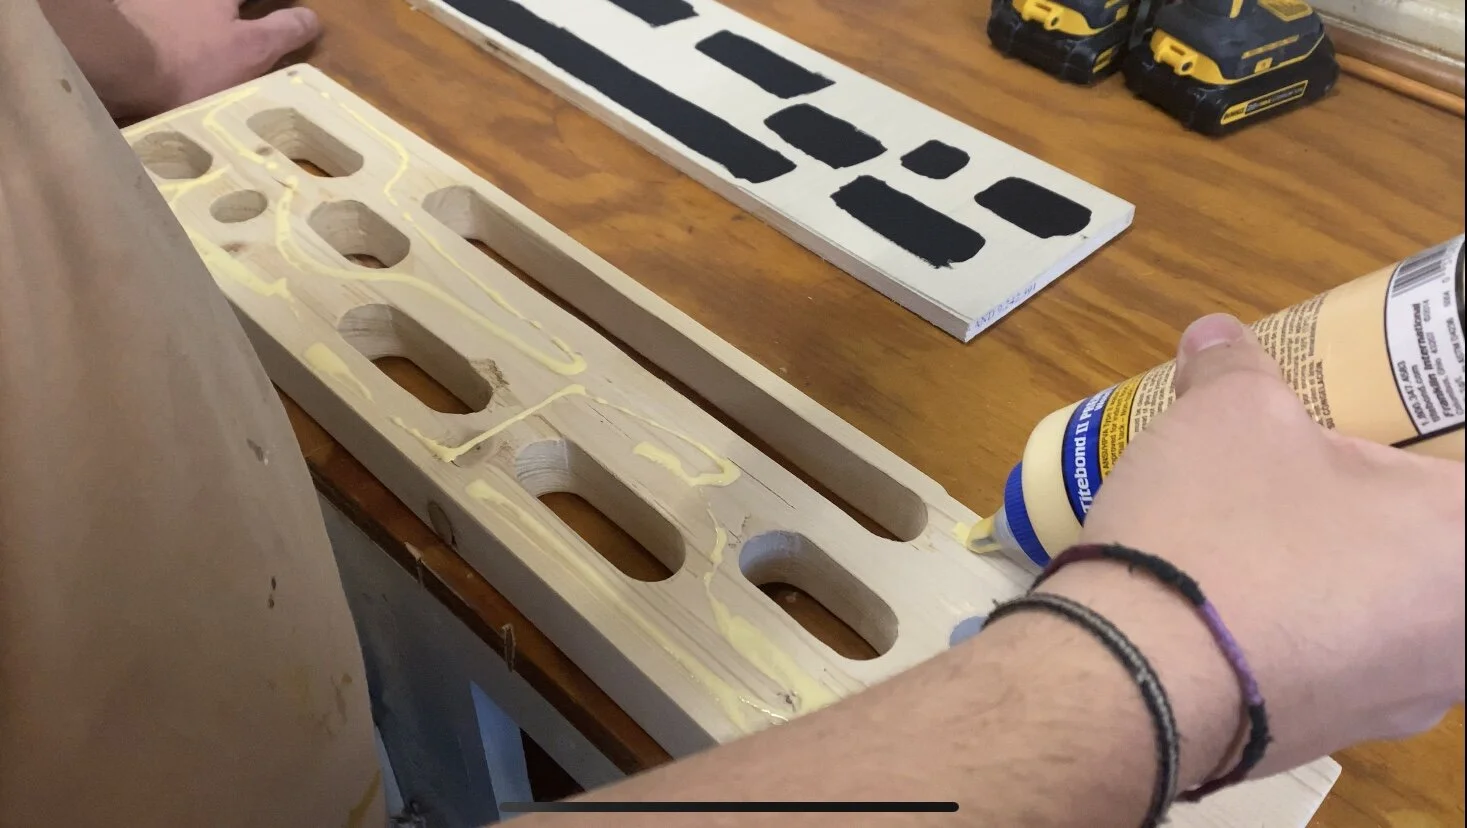
Now that the holes were cleaned and finished, we then cut ½” ply the size of our board. This was going to be the back. We then painted it black. Once the paint was dry we fixed it to the back of the hangboard.
We then stained it using dark walnut stain and finished with 3 coats of polyurethane.

Once everything was dry, we had to figure out how to mount it to the top of our sliding door frame. The top of the door is at an angle and we needed the hangboard to be straight so we had to counter that angle.

We found the angle four our van to be 30 degrees. So we cut a long strip at a 30 degree angle and mounted that to the top of the door frame. This now allowed us to mount the hangboard flat onto the wood mounted to the frame.

Once it was mounted, we tested it to see if would hold our weight, and thankfully it did!
